
Stucco for New Construction in St. George, UT | St. George Elite Stucco
St. George Elite Stucco is a licensed and insured stucco contractor that has worked on residential and commercial properties in St. George, Utah for 15 years. Builders, general contractors and custom homeowners need the stucco specification settled before work begins, whether the project is a custom home, spec home, subdivision elevation, addition, casita or ADU. Because the walls have never had a finish, stucco for new construction begins by specifying the assembly over wood framing or over block rather than diagnosing an existing finish.
The drawings should identify which of the two systems the residential new work requires. One option is an engineered one-coat base, which is fiber-reinforced, runs 3/8 to 1/2 inch and is approved under its own evaluation report from ICC-ES, the body that issues code approvals for named products. That report is what the code accepts, and it runs under its own ICC-ES evaluation report. The other is traditional three-coat plaster.
On a new build, the plaster has to wait for the framing, roofing, windows and their flashing, while everything scheduled afterward waits for the plaster. The cure intervals also need firm dates on your schedule, including the seven days before a finish coat. Summer changes the working day across the 50 to 60 days a year when temperatures run above 100 degrees.
Before we mobilize, you need to know what will be installed and when each elevation can be completed. We work across Washington County, from St. George and Santa Clara out to Hurricane. Send us the elevations, and you receive the assembly name, the joint layout for the control joints and a date for each face of the building.
Request a Free Estimate
We're ready to take on your project!
Stucco for New Homes and Residential Construction
When every wall is receiving its first finish, you need the stucco specification to come from the plan set and elevations rather than from an existing finish that has failed. The scope covers stucco for new homes, including houses, the smaller buildings built beside them and the substrate choice underneath both. Commercial new builds run on a different schedule and are covered separately.
Custom Homes, Spec Homes, and Subdivision Elevations
Whether you are building a custom home, a spec home or an entire subdivision, the specification needs to fit the way the project will be approved and scheduled. A custom home uses one specification worked out with your architect and settled with you. A spec home uses the same kind of specification but works toward a sale date, so the exterior must look right the week the house goes to market. A subdivision repeats the specification lot after lot on a rolling schedule.
Each face of the building, called an elevation, is priced and approved on its own. The three project types diverge in how those decisions are made. A custom owner is buying the ability to make those decisions, so more time goes into the drawings. A builder needs repeatability, which puts the emphasis on a sequence and dates that hold across the phase. Color approval also scales differently. One house takes a single round of samples, while a phased development takes one round for each plan type.
Additions, Casitas, ADUs, and Detached Buildings
An addition, casita, guest house, detached garage or outbuilding usually has a complication that a completely new house does not: the wall beside it may have been finished years ago. An accessory dwelling unit, or ADU, is a second small home on the same lot. Because it is new construction, it receives the complete assembly used on a house rather than only a coat matched to the neighboring wall.
Where a new elevation meets an older one, the two walls need room to move separately. We place a control joint at the junction to allow for that movement. Matching a patch into a wall that is otherwise sound is repair work, which belongs under stucco repair rather than new construction.
Framed Walls and Block Walls Are Different Specifications
New construction in Southern Utah commonly uses both framed walls and masonry walls, so the plans need to identify what supports the stucco on each elevation. Your walls may be wood framing over sheathing, or they may be concrete block and poured concrete. The plaster assembly is different for the two substrates.
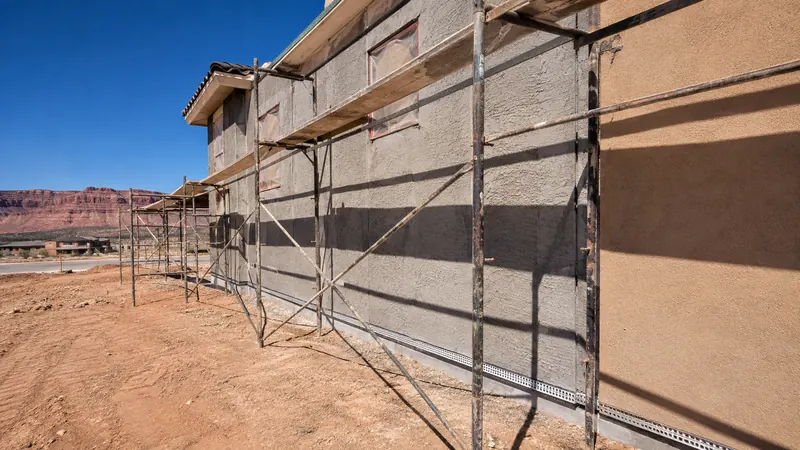
Before plaster can be mixed for a framed wall, the sheathing needs a water-resistive barrier followed by the wire mesh, or lath, that the plaster grips, known as the metal plaster base. Stucco over block can be applied more directly after the block surface has been prepared. Because changing the assembly is less costly during design, the specification belongs on the plans from the start. The block-wall build and framed-wall build each have their own requirements, so what matters at the design stage is knowing which construction supports each elevation.
Planning the Stucco Before Installation Begins
Before construction starts, exterior decisions are still relatively inexpensive because nothing has been built yet. The review can follow the drawings in order, beginning with the plans and elevations, then covering the substrate, stucco system, flashing and openings, architectural details, finish and color, and finally the construction schedule. When any of those choices are left until the scaffold is up, you have to make them under pressure while a crew is waiting on the job.
Choosing the System at the Design Stage
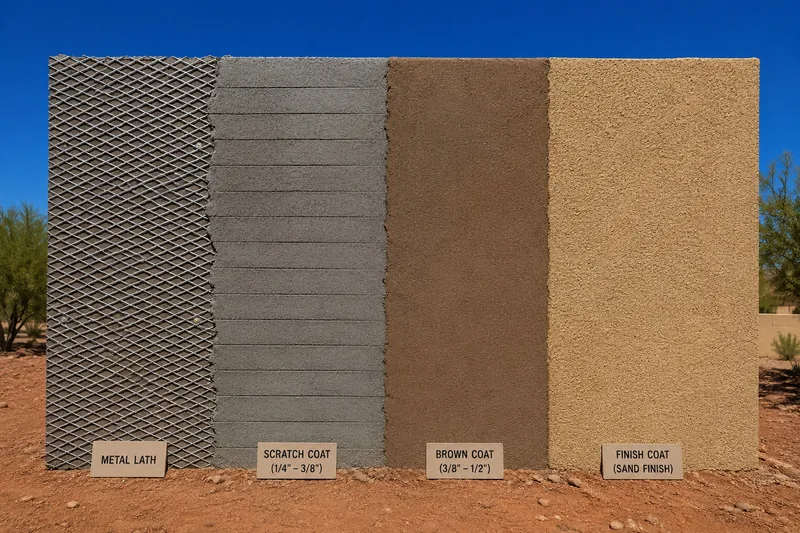
The building needs a specified stucco assembly before the slab goes in, so the design stage is the time to choose it. An engineered one-coat stucco system uses a fiber-reinforced base applied at 3/8 to 1/2 inch. The fiber in the base does work that would otherwise require a separate second pass.
Each one-coat system is a named product installed under the manufacturer’s ICC-ES evaluation report, the code approval issued for that specific product. The report identifies the substrates over which the system may be applied. If your walls are foam-sheathed, the listing tells you whether that system is approved for them.
Traditional three-coat stucco is the alternative and is applied in three passes. The way that assembly goes together is covered in our stucco installation work. EIFS, short for exterior insulation and finish system, is a different wall system rather than another texture, and our commercial page covers it. Whichever system you choose should be written into the specification instead of selected on site.
Drawing the Joint Layout Before the Wall Is Built
Because cement plaster moves, the wall needs control joints, which are planned breaks that divide the plaster into panels. On a new build, the joint layout is drawn on your elevation before framing begins. Planning early allows the joints to sit where they look deliberate, including along a return, above an opening or in line with a band. When the decision is left until later, the joints have to go wherever the crew can place them.
Where the structure has an expansion joint, that joint must continue through the plaster, so its position is fixed by the building. Plaster also cannot stop movement that begins in the framing or foundation. It can only be given planned places to relieve that movement. We mark the approved control-joint layout on the elevation you sign and agree on it with your builder before the lath goes up.
Approving Color, Texture, and Shaped Details by Elevation
The right finish depends on how you want each elevation to look in daylight where the wall will actually be seen. The plans usually name a smooth, sand float, lace or dash texture, but the final choice is settled with a sample panel judged on the job. We then record the approval for each elevation before the crews mobilize. Where a community reviews exterior changes, we supply product color and texture samples for the submittal.
Shaped trim, including pop-outs, bands, columns and arches, is decorative work and has its own page. Where an elevation mixes materials, we terminate the plaster cleanly against the stone, and we set the stone veneer too, which is its own service and its own line on your estimate. Questions about how pigments and coatings behave over the years belong to our resurfacing and recoating work.
Sequencing Stucco for New Construction Into the Build Schedule
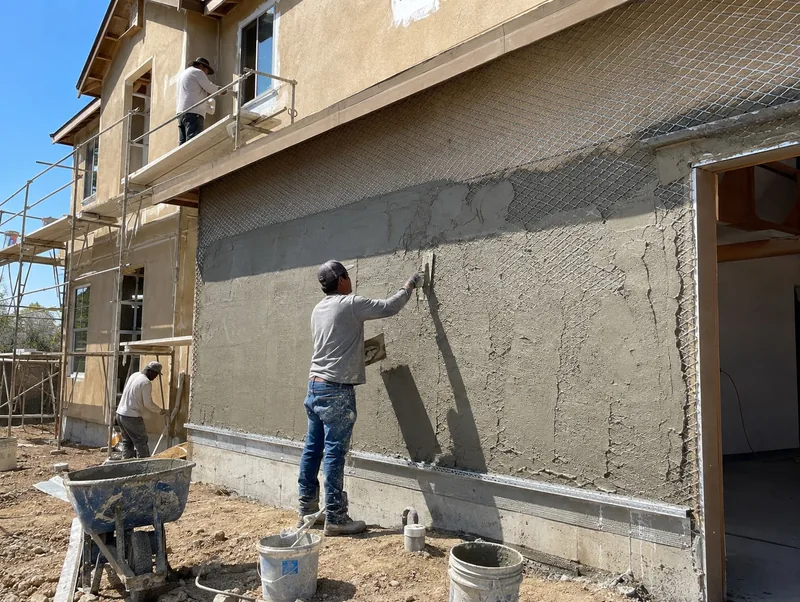
Your stucco date affects more than the plaster crew because this work sits in the middle of the exterior schedule. Plaster waits for the framing, roofing, window installation and flashing, while the trades that follow must wait for the plaster to cure. Fixing the date early helps keep those handoffs organized. Stucco is one of the few scheduled items that can both receive a delay and pass one along.
What Has to Be Complete Before Plaster Starts
A wall that is still open or missing penetrations cannot be plastered without creating problems for the work that follows. An elevation is ready when the wall has been closed in and everything that must pass through it is already in place. Before we mobilize, the site-readiness requirements include the following.
- The framing is complete, inspected and sheathed.
- The roof is on, so the wall is no longer taking water from above.
- Your windows and doors are set, with their flashing installed.
- Every penetration is set, including hose bibs, gas meters, vents, electrical boxes and exterior lights.
- The rough grade near the wall is at its finished level.
- You have room to stage scaffold and material along the elevation.
Starting an elevation before it is ready could leave the wall open while another trade catches up. Because waiting a week is a better outcome for you than leaving an opened wall unfinished, we reschedule elevations that are not ready. We walk each elevation with your superintendent before mobilizing.
Flashing and Barrier Transitions Planned Before the Finish Hides Them
Keeping water out depends on several layers working together behind the finished stucco. The exterior wall begins with sheathing, followed by the drainage layer behind the plaster, known as the water-resistive barrier. Flashing, lath and stucco follow in that order. Plaster does not handle water protection by itself, which is why the flashing and lath receive their own inspection before they are covered. How those layers fit together belongs to our stucco installation work.
The places where materials meet need to be coordinated while the work is still visible, including window and door heads, roof-to-wall intersections, deck and patio ledgers, soffits and the foundation. Those transitions are sequenced with your builder before the finish hides them, and we tell you which ones have to be right before we start. Grading must be coordinated at the same stage. The drainage edge at the bottom of the wall, called the weep screed, needs 4 inches of clearance above bare earth or 2 inches above paving. Your landscaper has as much influence on that clearance as we do.
Phased Scheduling Across Multiple Lots
A development can keep moving while earlier stucco work cures. Our crews move between elevations and lots during the cure days, making those intervals part of the schedule rather than a stoppage. Visible milestones set the pace, beginning with the lath and accessory inspection before plaster covers the work and continuing with each coat as a dated item. We plan material deliveries and scaffold moves around those same dates. You receive dates for each elevation instead of one start date, allowing the phased schedule to hold when one plan type moves ahead of another.
Curing Stucco for New Construction Through a Desert Summer
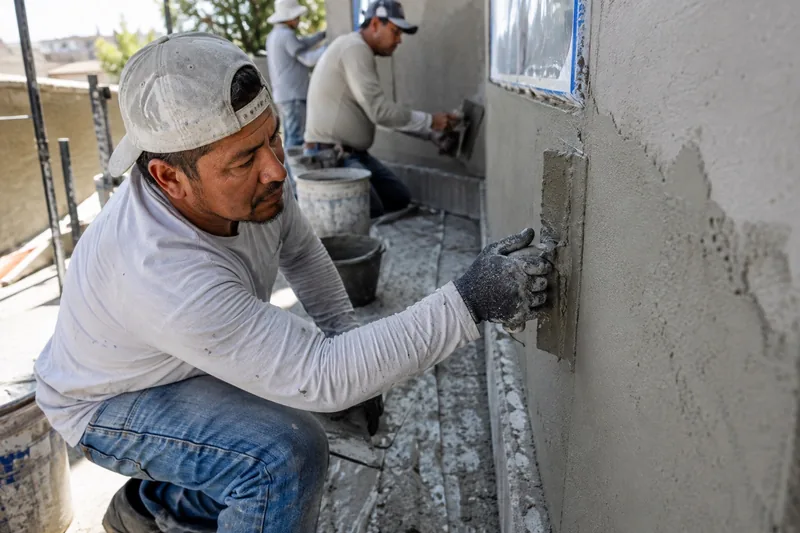
A desert summer can pull moisture from fresh stucco too quickly, contributing to shrinkage and cracking when the wall is not cured properly. Cement plaster hardens through a reaction that needs water, so it does not simply dry. Heat, direct sun, low humidity and wind can remove that water faster than the cement can use it. We write the curing plan before the first coat goes on so the crew is not improvising from the scaffold.
Planning the Intervals Between Coats on the Builder's Calendar
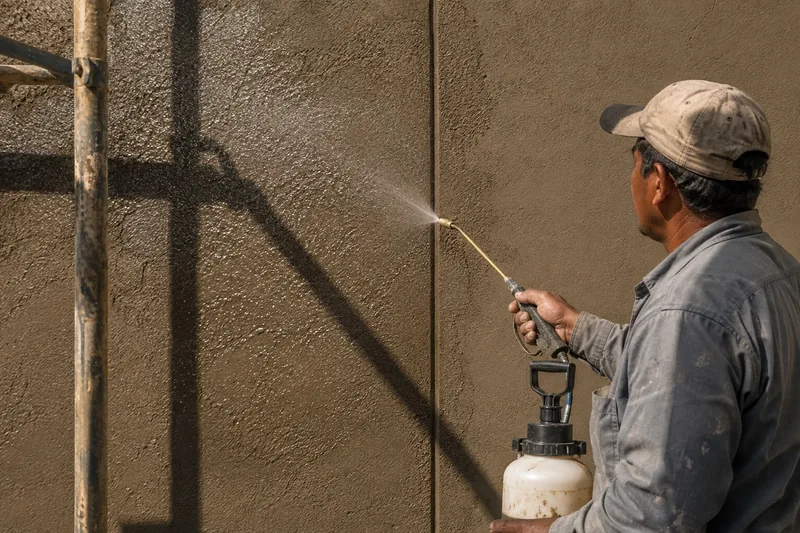
Your build calendar needs to account for three separate curing requirements. Your second coat cannot go on sooner than 48 hours after the first. The finish coat cannot go on sooner than 7 days after the second. And every coat has to be kept moist for at least 48 hours while it cures, which means a mist that keeps the wall damp rather than a hose run over it. The curing intervals are minimums, and a hot week can make the wall wait longer.
These dates belong on the build calendar alongside the dates for every other trade. When a schedule leaves them out, later work can slip. We give you the curing dates before the first coat goes on, and the scaffold remains in place throughout the interval.
Weather and Temperature Limits on a Live Site
During the hottest weeks in St. George, wind can matter as much as temperature because it removes water from a fresh coat just as effectively as heat. We start earlier in the summer and follow the shade around the building. When an elevation has no shade of its own, we cover the fresh work with shade cloth until the coat has taken up the water it needs.
Some mornings, the forecast shows that the weather would pull moisture from a new coat too quickly. We postpone the coat before work begins instead of waiting until midday to make the call. Moving the work by a day costs you less than reworking an entire elevation.
Why Work With St. George Elite Stucco on a New Build
Open exterior decisions can hold up your build once crews are ready to mobilize. Before reaching the site, St. George Elite Stucco settles the system, control-joint layout, color and texture approval and cure dates before we mobilize. Your project then moves to the field with approved decisions and a working schedule already in place.
The Specification Is Settled Before the Slab
Your estimate identifies the assembly as well as the price, with the joint layout and cure dates written beside it. Traditional three-coat and engineered one-coat systems remain separate specifications, and the drawings establish which one the project uses.
License and Insurance a General Contractor Can File
Your general contractor will usually want the stucco subcontractor's credentials on file before work begins. Before we work on your wall, you can verify our license and insurance coverage. We carry general liability and workers' compensation. Certificates are available before work starts, and our license number goes on every written estimate. Asking for the certificate early gives your general contractor the paperwork needed before our crew arrives on site. Call (435) 236-2699 or use our quote form to schedule a free on-site estimate.
What Builders Are Actually Pricing
When you compare stucco bids for a new build, the specification usually moves the price more than the finish selection. The wall assembly determines the material quantities, crew time and number of passes required. The items affecting the cost of your elevations include the following:
- The system on the specification. A fiber-reinforced one-coat base and a traditional three-coat build require different quantities of material and different amounts of crew time.
- Elevation and opening counts. Every window, door and penetration needs its own trim and termination, so a wall with many openings costs more per square foot than a blank wall.
- Shaped detail. Bands, returns, pop-outs and arches must be built from the drawings, and the price reflects the detail shown there.
- Wall height, scaffold and lift days. Safely reaching an upper elevation carries the same access cost whether the wall itself is large or small.
- Substrate. A framed wall and a block wall require different assemblies underneath the plaster.
- The cure and inspection days on your schedule. When the wall must wait between stages, the scaffold remains standing, and that time has to be included in the price.
We take quantities from your plan set and provide the scope in writing, allowing you to compare it with another bid line by line. We do not quote a square-foot rate over the phone before the elevations have been reviewed, because that rate would leave out the details that determine the actual scope. Send the drawings through our quote form, or call (435) 236-2699 and we will come and measure them.
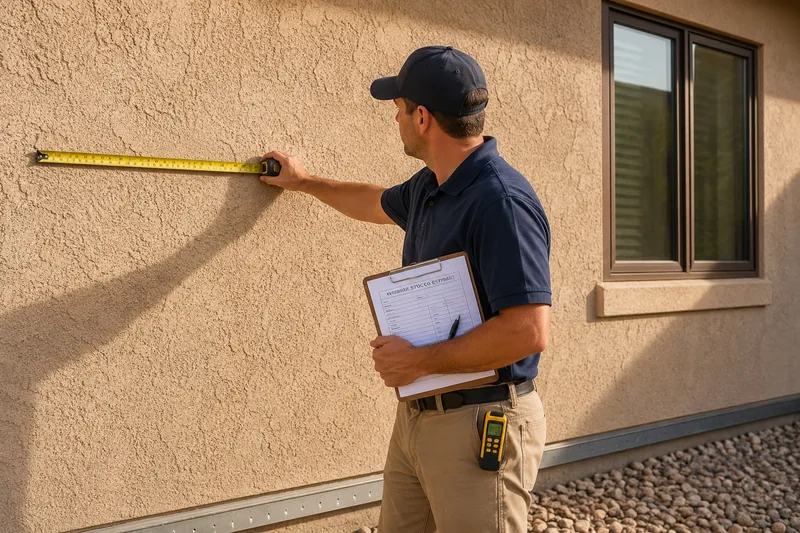
From Plans to Final Walkthrough
A new-build stucco scope is easier to schedule when each stage has a clear handoff. A St. George Elite Stucco new-build job follows six steps, beginning when the plan set arrives and ending when the last elevation is turned over.
-
Plans, Elevations, and Scope.
Before the scope is confirmed, we read the plan set and the elevations you send us. We then review the wall construction and architectural features with you. The first visit is free.
-
System Selection and Specification.
Your drawings may name the assembly, or they may leave that decision open. We confirm the assembly in the project specification or settle it with you first, and the written estimate identifies the assembly along with the number.
-
Your Permits and Submittal Package.
We verify the jurisdiction and handle required permit applications. The approved color and texture samples are included in the same package for architectural review.
-
Substrate Readiness and the Layers Underneath.
An elevation must be released before anything is fastened to it. We walk the elevation, then install the barrier, flashing, lath and accessories. Those layers are inspected before the plaster covers them.
-
Base Coats and Cure Milestones.
Once the underlying layers have passed inspection, the base coats are applied according to the specified system. The cure days become dated milestones so you can plan the following trades around them.
-
The Finish Coat, Punch List, and Turnover.
Your approved color and texture are applied in the finish coat. We then walk the elevations with you, clear the punch list and turn them over.
To get your elevations dated, call (435) 236-2699 or start with the quote form.
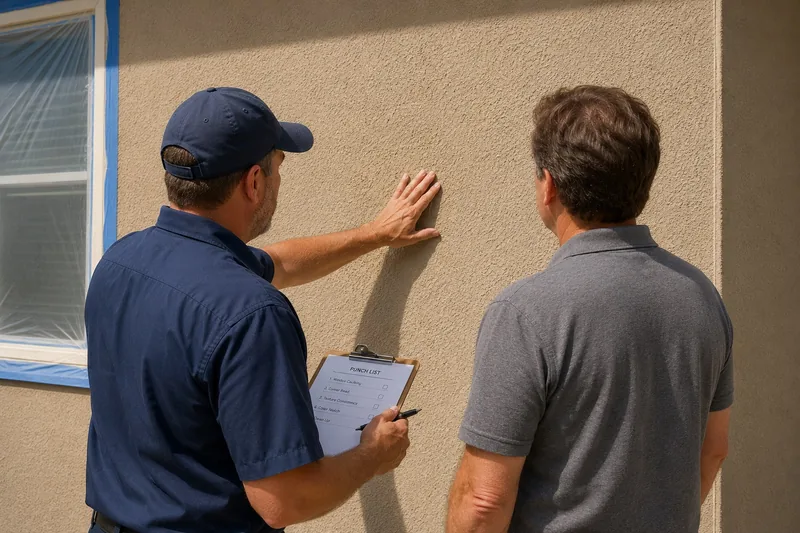
Specifications, Standards, and the Code on a New Build
Your project specification gives you and your builder a clear standard for judging the completed work, which matters even more on stucco for new construction than on a repair. The documents behind your elevations include the following:
- ASTM C926 covers how portland cement-based plaster is applied, while ASTM C1063 covers the lathing and furring installed beneath it. Our stucco installation work follows the requirements of both standards.
- An engineered one-coat system follows its own evaluation report instead of those two standards. The plan reviewer checks the system against that report.
- Utah adopts its building code statewide rather than city by city. The editions currently in force are published by the Utah State Legislature ().
- Utah also licenses contractors at state level. The only two requirements are a state contractor license and a business license where the contractor is based, and cities and counties may not add their own.
On a custom home, your project specification can require more than the adopted code. We build to the requirements in front of us and identify them in the estimate, so the scope can be checked against the finished elevations.
New Construction Stucco Across Washington County
Where your lot sits in Washington County can affect the stucco schedule more than the distance from St. George. St. George sits at 2,530 feet, while Pine Valley is near 6,500. A summer schedule that works in the valley is the wrong one for a mountain lot, and the reverse holds during the shoulder seasons. When we date your elevations, we account for where the lot actually sits.
Communities St. George Elite Stucco Serves
Your project may be in one of the connected cities around St. George or in a smaller community farther into the county. St. George Elite Stucco serves communities throughout Washington County, from the connected cities around St. George to smaller settlements near the county's valleys and mountain approaches.
- St. George, Washington, Santa Clara, Ivins, Hurricane, La Verkin, Toquerville, and Leeds
- Winchester Hills, Diamond Valley, Dammeron Valley, Veyo, Brookside, Central, and Pine Valley
- Gunlock, Shivwits, Virgin, and Apple Valley

Builder and Owner Questions on New Construction Stucco
Builders and owners usually want a few practical questions answered before work begins on a new exterior.
What has to be finished on an elevation before your crew can start?
Your plaster start can slip when an elevation is still open or penetrations have not been set. Before our crew can begin, the framing and roof must be complete, and the windows and doors must be installed with their flashing. Fixtures are the item most often left unfinished. When a fixture is installed after the finish coat, the completed surface has to be cut into.
How does an engineered one-coat system get approved for my project?
When your project specifies an engineered one-coat system, the approval follows the ICC-ES evaluation report held by the product manufacturer. The report lists the substrates that product is approved to cover. It becomes part of your submittal package, allowing the plan reviewer to check the specified product against its own listing.
How do color and texture get signed off across the elevations?
Consistent color and texture depend on everyone using the same approved reference throughout the job. Before we mobilize, you sign off on a sample panel for each elevation. The panel remains in place for the rest of the project, so even months later, you and your crew can judge the finished wall against the same reference.
Can you plaster in July, and what does the heat change?
You can schedule plaster for July, and summer work in St. George is ordinary rather than an exception. The heat changes how the working day is arranged. When conditions require a coat to move to another day, your superintendent receives advance notice instead of learning about the change that morning.
Who decides where the control joints go, and when?
The control joints on the finished wall need to match the layout you approved. You and your builder decide where they go on the elevation drawing during the design stage. We then issue a marked-up elevation so the completed joints can be checked against that drawing.
Who coordinates the stucco with roofing, windows, and the other exterior trades?
When another exterior trade runs late, the stucco sequence may need to move with it. We coordinate our work with your general contractor or superintendent, using your build schedule to set our dates and identifying which trades must finish before we begin.
Get Your Elevations on the Schedule
Before stucco work can take its place in your build schedule, you need a settled specification and dates for each elevation. Send us the elevations, or walk the site with us so we can read the walls there. We return a written specification and schedule showing which assembly your walls use, where the control joints fall, and when each face of the building gets worked. You also receive the estimate in writing, and the visit is free. Call (435) 236-2699 or request a free estimate through our quote form .