
Interior Plastering Services in St. George, UT | St. George Elite Stucco
St. George Elite Stucco has provided interior plastering for residential and commercial properties in St. George, Utah for 15 years. We are licensed and insured, and we plaster the walls and ceilings of houses, additions and older homes. A new room or one stripped back to the studs calls for veneer plaster over blueboard, the panel made to bond with plaster rather than paint. Matching an old wall or restoring a ceiling that has started to let go calls for full-thickness gypsum plaster over wood lath, the narrow wooden strips that form the base, with restored plaster keys, the hardened plaster that grips behind the gaps. We also apply smooth, sand and knockdown finishes, along with ornamental plaster moldings.
Interior plaster uses gypsum or lime rather than the portland cement plaster used outside, so the applicable standards follow the material. ASTM C843 applies to veneer, while ASTM C842 applies to full thickness.
Plaster repair in an older house begins behind the finish with the plaster keys and wood lath. A veneer coat runs 1/16 to 1/8 inch. We also handle exterior stucco systems and their textures, but those are separate from our interior plastering work.
We plaster for homeowners and property managers across Washington County, from St. George out to Hurricane. Once we know what is behind the wall, we choose the plaster system that fits the room.
Request a Free Estimate
We're ready to take on your project!
Interior Plastering Uses a Different Family of Materials
Through our plastering services we work in plaster and stucco, and our plasterers bring many of the same tools and hand skills to both, although the materials differ. Inside the house, we apply gypsum or lime plaster. For exterior work, we use portland cement plaster, the material most people know as stucco. Each binder hardens in its own way, so we follow the standard that governs the material being used.
Gypsum and Lime Instead of Portland Cement
Gypsum plaster hardens through a chemical reaction rather than simply drying. During manufacturing, heat from a kiln drives the water out of the gypsum powder. When we add water at the job, the mineral takes the water back in and hardens again. The reaction moves through the entire layer, allowing a gypsum wall to become firm and set quickly.
Lime plaster takes much longer to harden. Through a process known as carbonation, it absorbs carbon dioxide from the air over a period of months. Gypsum and lime plaster are not made to shed rain and other weather, so we use both materials indoors. Outside, we apply portland cement plaster as part of our exterior work.
Where Our Interior Plastering Work Ends
Our interior plastering work stops at the building envelope, the outer shell of the house. Within that shell, we plaster walls and ceilings and restore plaster details. Exterior textures belong to a different part of our work, including lace, dash and skip-trowel finishes applied through resurfacing and recoating. When an outside wall has shaped details, we handle them through our decorative and architectural work.
Two other exterior systems also fall outside interior plastering. EIFS, the exterior insulation and finish system, belongs to our commercial work, while we handle three-coat exterior systems through our stucco installation work. Because gypsum plaster is unsuitable for exterior locations or wet areas, we do not extend any part of our interior plastering service outdoors.
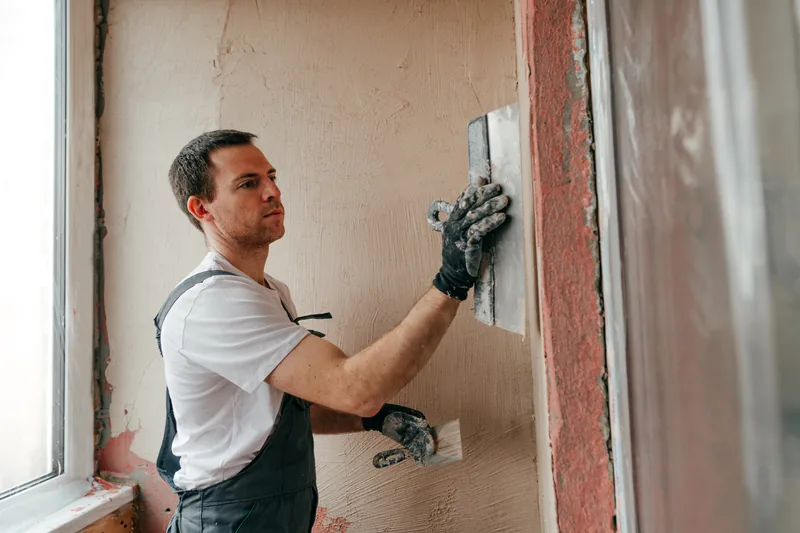
Plastering Services for Walls, Ceilings, and Plaster Moldings
Most interior plastering projects begin with a room in one of three conditions. You may have new board that has never been finished, sound old plaster that only needs a fresh surface, or older plaster that has started separating from the lath behind it. We use the same plaster materials on walls and ceilings in each case, though the condition of the room determines the work we need to do.
New Blueboard on a Remodel or Addition
Blueboard is a gypsum panel covered with face paper made specifically to bond with plaster. We hang it for new work, including a remodel, an addition, or a room taken back to the studs. Once the board is in place, we bed glass-fiber mesh tape by pressing it into the plaster over the joints. We then cover the entire face with veneer plaster rather than treating only the seams. The blueboard system is meant to receive this full coat, leaving you with one continuous hard surface across the wall.
Plaster Ceilings and Why They Go First
In an older room, we usually complete the plaster ceiling repair before starting other plaster repairs. The ceiling relies on its keys to support its own weight, so you may see a sag from the doorway, a fine map of hairline cracks, or a section that moves when you press it by hand. Our crew works overhead from staging, the scaffolding that supports us while we reach the ceiling. Working overhead changes how we set up the room and spend the day, but it does not change which plaster material we use. Ceilings are part of this scope. What a crack means structurally is an engineer's call, and we will tell you to ask one.
Ornamental and Run-in-Place Plaster Moldings
Ornamental plaster is plaster work rather than carpentry, and we can reproduce it in two ways. To make a molding run in place, we form the detail directly on the wall. We pull a template cut to the required profile along a screed, the guide rail that keeps the shape true, and build up the molding over successive passes.
For a cast molding, we take a mold from the existing profile, make the replacement piece, and set it in place. Casting allows us to replace a damaged length from an original run. With either method, we begin the match by taking the profile from a sound section you already have. Our ornamental plaster work includes cornices, ceiling medallions, arch returns, and curved reveals.
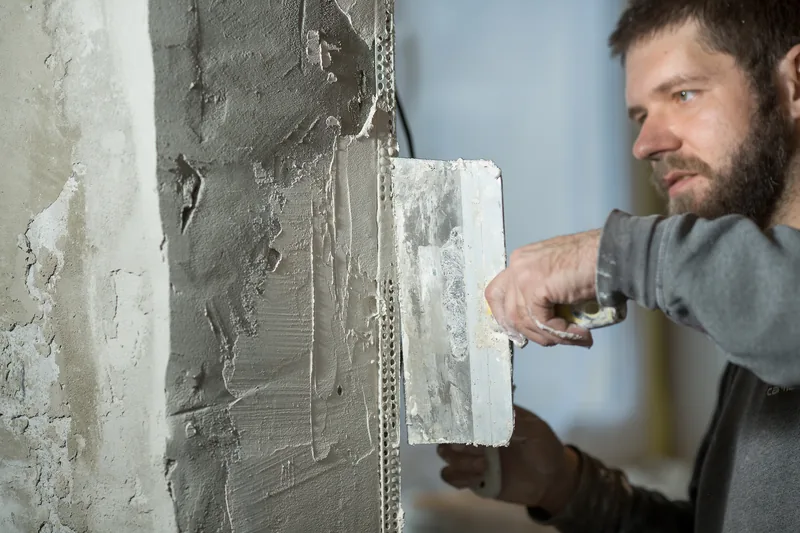
Veneer Over Blueboard and Full-Thickness Gypsum Plaster
For interior plaster, we use one of two systems based on what is behind the finished wall. Blueboard takes veneer plaster, while lath, masonry or concrete takes full-thickness gypsum plaster. Each system follows its own ASTM standard, one of the written industry rules that manufacturers and inspectors reference, and is applied at a different thickness.
Veneer Plaster Over Blueboard at 1/16 to 1/8 Inch
ASTM C843 governs how we apply gypsum veneer plaster. At 1/16 to 1/8 inch, the coat is thin, but it hardens through its full depth instead of becoming hard only at the surface. Veneer can be applied as either a one-coat or two-coat system. A two-coat job has a base coat beneath the finish coat, while a one-coat job uses a single coat where a base is unnecessary.
Because veneer sets quickly, we work each wall in one continuous pass. Blueboard makes that possible because its face paper bonds to the plaster, while ordinary drywall paper does not. Veneer has a clear limit, however: it cannot fix existing plaster that has come away from its lath.
Full-Thickness Gypsum Plaster Over Lath
ASTM C842 governs the application of full-thickness interior gypsum plaster over gypsum lath, metal lath, masonry or monolithic concrete. With this system, we build the plaster up in coats instead of skimming a thin layer across a panel. You usually need that added thickness in an older house, where the new plaster must meet the depth of the existing wall along the edge.
The extra depth lets us bring a new section flush with the old plaster where the two meet. We use the base coats to bring the wall level, then apply the finish coat to give the texture. A traditional finish uses lime putty gauged with gypsum plaster, meaning a little gypsum is mixed in so the material hardens within hours. You will still find this finish on a plaster repair to an original wall.
Restoring Plaster Keys on Older Wood Lath
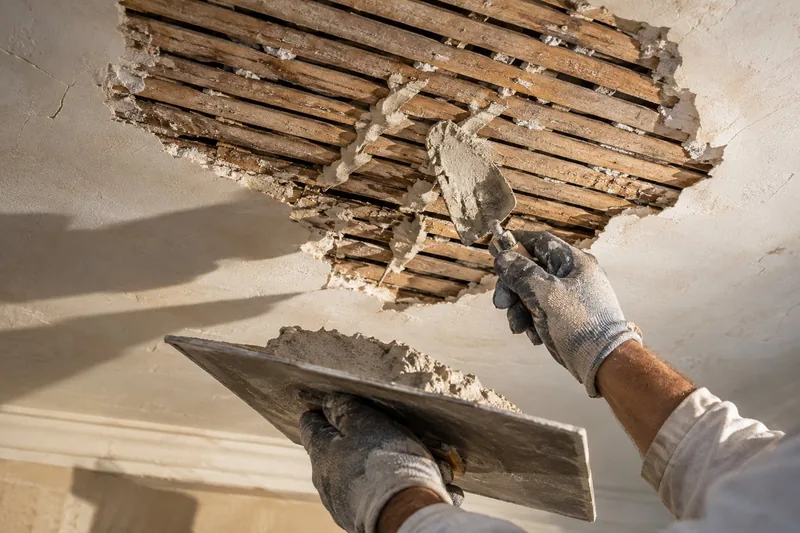
On an old wall, the plaster itself can still be perfectly sound even after it has lost its grip on the material behind it. That is a different problem from the plaster repair used to repair a crack or fill a hole, and it calls for plaster restoration. This work falls outside both ASTM standards because neither one covers wood lath. Before we skim the wall with fresh plaster, we reattach the field, the broad sheet of plaster between the edges, to its backing. Once the work is finished, you never see this part of the repair.
What a Plaster Key Is and Why It Breaks
Wood lath consists of thin wood strips nailed across the studs with gaps between them. When the wall was originally plastered, the base coat was forced through those gaps. The plaster squeezed out behind the lath and hardened into ridges known as plaster keys. Those keys are what hold your plaster to the wall. As the house moves over the decades, the lath also moves, and the hardened ridges can snap off until nothing is gripping the plaster.
You can often hear and feel the loss of that grip. Tapping along the wall produces a hollow sound, and the loose panel gives when you press it with your hand. Skimming over broken keys does not secure the plaster underneath, so the problem comes back.
Reattaching the Field Before Applying a Skim Coat
When a loose plaster field needs to be pulled back against the lath, plaster washers provide the mechanical half of the repair. Each washer is a perforated metal disc fitted over a screw. As we tighten the screw, the washer draws the loose field firmly against the lath. Where the wood lath remains sound, we also inject adhesive into the gap behind the field to hold the plaster in place.
We treat cutting out the original plaster as the last resort because salvaging it keeps the wall made from one age of material. After the field is secure again, we bridge the repair with mesh and use plaster to bring the surface level. There is no screw spacing figure here and no percentage rule for deciding when a wall is past saving. We make that decision from the condition of the wall itself.
Smooth, Sand, and Knockdown Interior Finishes
Smooth, sand and knockdown interior plaster finishes may look like three different materials, but they are three ways of finishing the same interior plaster. The plaster behind the surface stays the same; what changes is how we work the last coat. Your choice comes down to the room and how light falls across its walls.
How Each Finish Is Worked
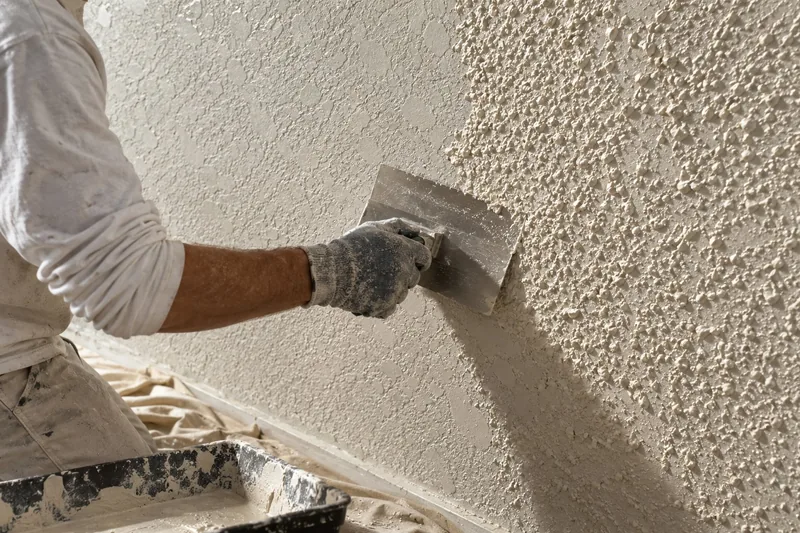
To create a smooth plaster finish, we trowel the surface flat in successive passes. Of the three finishes, smooth takes the most hand time. A sand finish has aggregate in the finish coat, which we float into an even grain so the surface has a uniform tooth, or grip. For knockdown, we lay on the finish and let it take up, or firm slightly, before flattening it with a blade. The blade leaves the mottled pattern that gives the finish its name.
Whichever finish you choose, the tool and the pressure create more of the pattern than the plaster mix does. Side light, meaning light that rakes across the surface from one side, shows the most variation on a flat surface, so the light in the room determines how forgiving each finish will be.
Matching a Finish Into a Room That Already Has One
Before we apply new material, we first identify which of the three finishes is already on the wall. Texture matching only works when we know exactly what we are trying to reproduce. We make a small sample using the plaster the room will actually receive and the same tool that will create the finished pattern.
Once the sample is right, we carry the new finish to a natural break, including a corner, a ceiling line or a door casing. If a patch ends in the middle of a wall, you can still see it under side light, no matter how closely the texture matches. We will tell you that rather than promise a match nobody can see.
Why Choose St. George Elite Stucco for Interior Plastering
St. George Elite Stucco treats interior plastering as its own trade, with materials and standards of its own. We work with both plaster systems and also restore plaster on wood lath. Having all three capabilities allows us to give each room the system or restoration work it actually needs.
Both Plaster Systems, Along With Restoration Work
We choose the plaster system room by room. An addition and the original hallway beside it can receive different plaster as part of the same job. Where a house needs restoration on older wood lath along with plaster over new board, we handle both at the same time. We also take care of ornamental running and casting alongside the flat work, so a cornice and the walls it sits on remain one scope instead of being split between two trades. The on-site visit is free, and the estimate is written.
The License and Insurance Behind an Interior Job
Utah licenses contractors at the state level, so no city adds a second contractor license. Cities including St. George can still require a local business license before work begins, and Washington County requires one in unincorporated areas. Before we work on your wall, you can verify our license and insurance coverage. We carry general liability and workers' compensation. Certificates are available before work starts, and our license number goes on every written estimate. For an indoor project, that certificate usually goes to a property manager or an HOA, where the crew's insurance coverage can be checked. Call (435) 236-2699 or use our quote form to schedule a free on-site estimate.
What Sets the Price of an Interior Plaster Job
We price interior plastering on site because the room itself determines the plastering cost. Six factors have the greatest effect on your written estimate.
- The plaster system the room needs. Veneer over new blueboard and full-thickness plaster over lath require different materials and amounts of crew time.
- How much of the old plaster remains keyed to the lath. If we need to reattach a plaster field before applying the finish, that work becomes a separate part of the job.
- The wall and ceiling area, along with access to the ceiling. Working from staging requires the same setup for a small room as it does for a large one, so that setup has its own cost.
- The finish you choose. Creating a smooth face takes more hand time than applying a sand or knockdown finish.
- Any ornamental work. We price running a molding in place or casting a matching piece separately from plastering the flat surfaces.
- Protection and access in an occupied room. Before mixing any plaster, we need to mask the work area, cover the floor and plan around the furniture.
Once we have visited the room and measured the wall and ceiling areas, we provide the estimate in writing. The on-site visit is free. Arrange an inspection through our quote form or by calling (435) 236-2699.
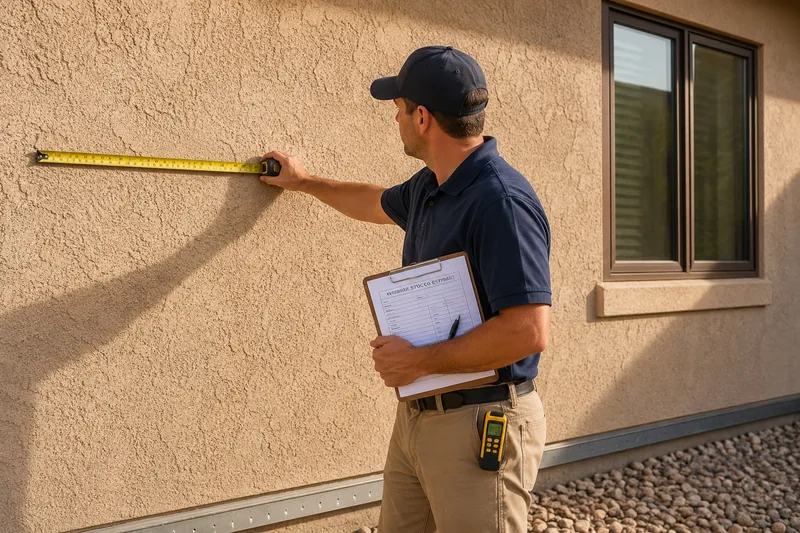
From Substrate Through Base and Veneer to Finish
St. George Elite Stucco completes an interior plastering job in five stages, beginning with a free estimate and ending with the final walkthrough. Here is what you can expect from us at each stage.
-
A Free On-Site Visit and Written Scope.
We start by walking through the rooms with you and measuring the wall and ceiling areas. After the visit, we prepare a written scope that identifies the plaster system for each room. The first visit and estimate cost you nothing.
-
Protecting the Room Before Materials Come In.
Before we start work, we cover the floors, furniture and doorways. We also contain dust at the openings so it does not spread into the rest of the house.
-
Preparing the Substrate with New Blueboard or Reattached Lath.
For new work, we install the blueboard first. On an old wall, we reattach the field before putting anything over it. Your written scope tells you which preparation each room needs.
-
Applying the Base and Veneer Coats.
We apply the base and veneer plaster coats according to the system named in your written scope. The room stays out of use while we apply those coats, so we work through the house one room at a time where we can.
-
Completing the Finish, Cleanup and Walkthrough.
We work the finish coat to the texture you selected. After the last coat is on, we remove everything used to protect the room and walk through each finished space with you before leaving.
To schedule a room, call (435) 236-2699 or use our quote form.
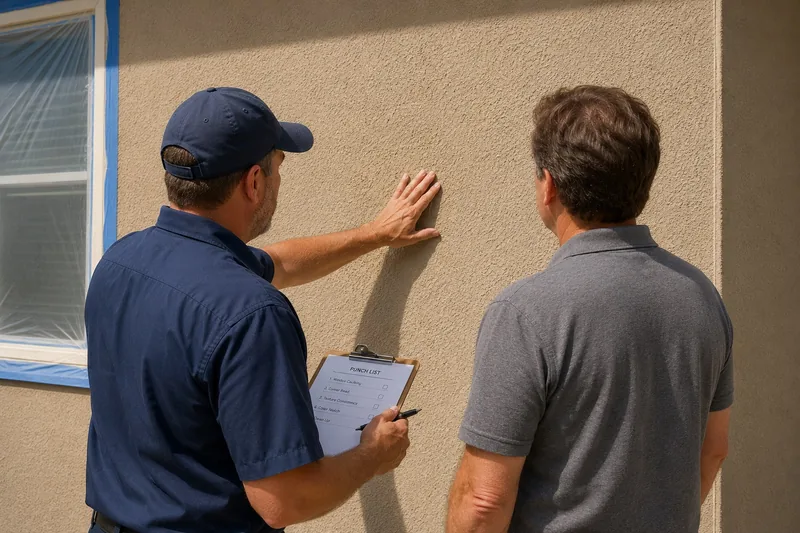
Plastering a Room While You Live in It
When we handle interior plastering in a room you are still living in, we have to account for two concerns that do not come up with exterior work. The first is controlling the dust and where it travels. The second is dealing with everything already on walls that have been decorated more than once.
Keeping the Dust Inside One Room
Fine dust from sanding a finish coat stays in the air instead of simply settling on the floor, so sweeping alone will not provide dust containment. Before any sanding begins, we seal the openings, cover the floors and close off the air returns, the vents that pull room air back to the furnace. Dust cut from old plaster is heavier and dirtier, so we bag most of it right at the wall. In either case, we return the room to you with the masking and debris removed.
Testing Older Coatings on an Older Home
Old plaster often has old paint, and a house that has been redecorated several times can have multiple layers beneath the current color. Before tear-off, we arrange laboratory testing for lead in older coatings on a home built before 1978, and Utah requires an asbestos inspection by a certified inspector on a home built before 1992. The laboratory results tell you what is present and determine how the plaster removal is handled.
Interior Plaster Work Throughout Washington County
For interior plaster in Washington County, we pay closer attention to the air inside the walls than to the weather outside. Annual precipitation runs about 8.8 inches, and that dry air follows you indoors. Gypsum needs water to set properly, so a coat that dries too soon will feel soft and chalky. During an interior job, we manage how quickly the room dries so the plaster has the time it needs to set.
Communities Where St. George Elite Stucco Plasters Interiors
St. George Elite Stucco works throughout Washington County. Our service area includes the connected cities around St. George, along with smaller settlements near the county's valleys and mountain approaches.
- St. George, Washington, Santa Clara, Ivins, Hurricane, La Verkin, Toquerville, and Leeds
- Winchester Hills, Diamond Valley, Dammeron Valley, Veyo, Brookside, Central, and Pine Valley
- Gunlock, Shivwits, Virgin, and Apple Valley
Wherever your property is on that list, we follow the same interior plastering process.

Interior Plastering Questions
These are the interior plastering questions homeowners ask us most often, answered the same way we would explain them while looking at the room with you.
What is the difference between veneer plaster and full-thickness plaster?
Veneer plaster is a thin coat, 1/16 to 1/8 inch, that we work over blueboard. Full-thickness plaster is built up in multiple coats over lath or masonry. ASTM C843 governs the first, ASTM C842 the second. Because the two systems depend on different materials underneath, you cannot use them interchangeably on the same wall.
Which plaster is right for my walls?
The wall you already have determines which plaster system is right. When the studs are open and new board is going up, we use veneer plaster. Matching an old lath wall calls for full-thickness plaster instead. A house can have both systems where an addition meets an original wall.
Do you repair plaster ceilings, and what does restoring the keys involve?
Yes, plaster ceiling repair is part of our work. Ceilings lose their keys before walls do, so we reattach the field by drawing it back to the lath with plaster washers. We then cover the washer heads with the finish coat. On a sagging ceiling, reattaching the field accounts for most of the job.
Does a knockdown, sand or smooth finish change the plaster or only the surface?
A knockdown, sand or smooth finish changes only the surface. We work the same plaster in three different ways, which means a repair can change the finish without changing the plaster behind it. Your choice depends on the room and how the light falls across the surface.
Is interior plastering the same trade as exterior stucco?
Interior plastering and exterior stucco rely on many of the same hand skills, but they use different binders and follow different standards. We handle both types of work, though we quote them separately. Where the two meet at a door opening, we apply the appropriate material to each side.
Is plastering the same as drywall finishing?
A person who works with plaster is a plasterer. Drywall finishing is a separate trade that uses different materials: a drywall finisher works with joint compound, while a plasterer works with plaster. On our interior plastering jobs, the same crew that runs a cornice in place also lays the flat coats around it.
What does it cost to plaster a 12 by 12 room and its ceiling?
We measure the wall and ceiling areas on site during a free visit rather than giving a square-foot rate over the phone. The plastering cost depends on several parts of the job, including the plaster system, the lath work the walls need, the finish, and access to the work area. We price the ceiling separately from the walls in the same room.
Let Us Look at Your Interior Walls
When you are unsure which plaster system each room needs, looking at the rooms themselves gives us the fastest answer. We walk through your house anywhere in Washington County and identify which rooms need veneer plaster and which need full-thickness plaster, with a price for each. The visit is free, and you receive the estimate in writing. Call (435) 236-2699 or request a free estimate through our quote form.