
Stucco for Block Walls in St. George, UT | St. George Elite Stucco
St. George Elite Stucco has provided stucco for block walls on residential and commercial properties in St. George, Utah for 15 years. We are licensed and insured, and we handle both parts of the job. When a wall has not been built yet, we construct privacy walls, screen walls, yard enclosures, pilasters, the thicker columns set into a run, block columns and wall caps. We also apply stucco to block walls that are already standing.
A concrete masonry unit is the trade name for the gray block that forms the structure of the wall, so the plaster serves as its finish rather than as a skin over a frame. Over solid masonry, we apply two coats under ASTM C926, with a code minimum thickness of 1/2 inch. Dense, unpainted block receives a dash bond coat so the plaster has a rough surface it can grip, while paint or masonry sealer must be removed mechanically or covered with a fastened metal lath base.
Concrete block shrinks slightly as it dries, so we include control joints, the vertical breaks that let the wall move, and carry those joints through the finish. The wall cap sheds water from the top before it can reach the block. Because a freestanding wall has two faces and a top with no roof overhead, every exposed surface needs to be included in the work.
We build and finish block walls throughout Washington County, including Washington, Ivins and Hurricane along with St. George, where 50 to 60 days a year run above 100 degrees. Once we prepare the estimate, you receive one written scope covering both the wall and its finish.
Request a Free Estimate
We're ready to take on your project!
Stucco for Block Walls: Walls We Build and Walls We Finish
Some homeowners call us before a wall exists. They may want a new wall along the back of the lot, a screen in front of a parking pad, or a courtyard enclosure. Others already have the wall and need us to finish it. We handle both kinds of work, and in either case, the concrete masonry units form the wall’s structure while our finish goes directly on the block face.
A wall that will hold back soil requires an engineered design. An engineer draws it, and the wall is permitted as a retaining wall. When the block will take a stone face, the project falls under our stone veneer work.
Privacy Walls, Screen Walls, and Yard Enclosures
The job a freestanding block wall needs to do determines how we build it. A privacy wall follows a property line and blocks direct views into the yard. When you need to hide one eyesore instead of enclosing the entire lot, a screen wall provides a shorter, more localized solution around a parking pad, an air conditioner, or a trash enclosure. A yard enclosure closes off a courtyard or side yard, turning a gap between buildings into usable ground.
Standard block comes in a nominal size of 8 by 8 by 16 inches. Nominal refers to the size used to identify the block, not its exact measured dimensions. We lay the blocks in running bond so that each one overlaps the two beneath it. Each horizontal row is a course. Where you need a gate, we design the opening into the wall with a column on each side instead of leaving a break in the courses.
Pilasters, Columns, and the Openings Between Them
A long wall run can flex, so we build a pilaster into it to serve two purposes. The pilaster stiffens the wall against the wind and provides solid support for hanging a gate. A block column at an entry serves a different role because it stands on its own, usually as one of a pair beside a driveway or walk. It also provides a place for a light fixture, an address number, or a mailbox.
We apply the same finish to pilasters and columns as we do to the adjoining wall. Carrying that finish around the corners makes each feature look like part of the original wall instead of a later addition. If you want shaped relief on a wall or column, including bands, quoins, and window surrounds, that work belongs to our decorative stucco and architectural details service.
Finishing a Block Wall That Is Already Standing
The existing walls we finish usually fall into three groups, and none is a finished stucco wall yet. One is bare gray block, often left unfinished by the builder. Another has been painted, sometimes more than once. The third comes with a history of previous work or damage, including patches, a rebuilt section, or a finish that came off in sheets.
Before we price the work, we check four things, including whether your wall is sound course by course, whether it has a cap, where its joints are, and what is already on the block face. Those answers determine how we prepare the wall. Choosing the paint or coating that will go over the finished block wall is a separate decision handled through our stucco painting and coatings work.
Building the Wall and Bonding Stucco to Dense or Painted Block
Our work on stucco for block walls starts in one of two places. We may be looking at an open trench line where no wall exists yet, or at a wall someone built years ago. In either case, the plaster needs a surface it can grip. For a new wall, we lay the block straight and true enough to receive the finish. With an existing wall, we first determine what the old block face will accept.
The Footing and the Courses Above It
Before we dig, we mark the wall line on the ground and have the underground utilities located. Trenches across a yard often encounter gas, power, water and sprinkler lines, so we find those lines before excavation begins.
Concrete block is heavy, and the footing beneath it determines how straight the finished wall will be. We pour a continuous concrete footing along the full length of the wall, making it wider than the block above it. Vertical steel is doweled up from the footing at the spacing shown on your drawing.
Every course follows the first one, so we set that first course in mortar and level it before moving higher. As we lay the remaining courses, we tool the head and bed joints to close the mortar against water.
Reinforcement, Grouted Cells and Wall Height
Concrete block is hollow, and we use the cells running through it to hold the steel. Vertical bars extend upward from the footing dowels. We then fill the cells around those bars with grout, a pourable concrete mix loose enough to flow around the steel and fill the remaining void. After the grout sets, the bar, grout and block work together as one piece instead of relying on mortar alone to hold the stack together.
Horizontal reinforcement also runs along the wall to tie one course to the next. The drawing specifies the reinforcement according to the wind load, and it also sets the pilaster spacing.
St. George City Code 10-18-1 allows walls up to 6 feet 4 inches in side and rear yards and 4 feet within the front-yard setback. Within a corner sight-distance triangle, the limit is 3 feet. Structural design above those zoning heights is a separate question and requires an engineer's drawing and a permit before a shovel goes into the ground. We build to that drawing. We do not produce it.
Checking the Block Face Before Plaster Goes On
Plaster bonds to masonry by keying into an open, absorbent surface and locking in place as it sets. On an existing wall, especially painted block, we first check whether the face is still open. Fresh plaster cannot key into block that has been burnished smooth, is unusually dense, or has been sealed.
Unless the block is obviously bare, you can check the surface with a cup of water and a minute of your time. Splash water onto the wall and watch it. A face that absorbs the water is open and ready, while water that beads on the surface shows that the block is sealed.
Paint and masonry sealer break the bond, so we cannot simply cover them with plaster. The usual route is to remove the coating mechanically. The other option is to fasten metal lath, a mesh base that holds the plaster, over the coated face, creating a different assembly that falls under our stucco installation work.
The Dash Bond Coat
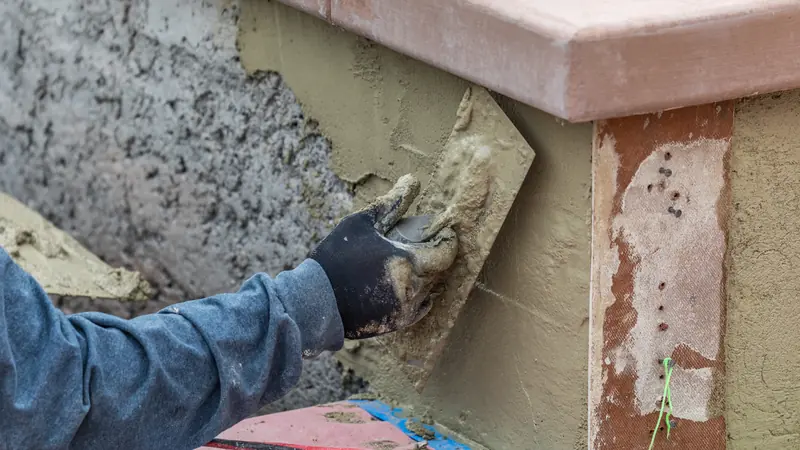
When a block face needs help holding plaster, we apply a dash bond coat. This wet, soupy mixture of portland cement and sand is thrown against the wall instead of being troweled onto it. We deliberately leave the coat rough so the plaster has something to grip. Troweling it flat would create another smooth face and leave the original bonding problem in place.
The dash bond coat creates one absorbent, keyed surface over a wall that may be too smooth in some areas, too variable in others, or covered with a mixture of old patches and bare block. We apply it across the entire wall face so the base coat meets the same conditions everywhere, rather than treating only the difficult spots. When a dash coat does not suit the wall, we use a brushed bonding agent to create the bond chemically.
Stucco for Block Walls Goes On in Two Coats
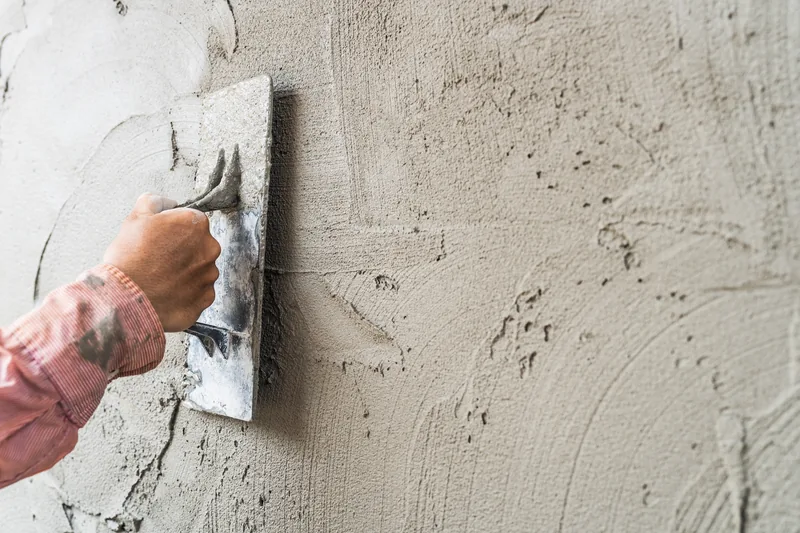
Over a solid block wall, we apply a base coat followed by a finish coat. Together, those two layers make up the complete stucco assembly. The block itself is the structure, and its joints are already set before any plaster goes on. Those joints determine where the finished surface can move, so we apply both coats to their set thickness and carry the joints through the finish instead of covering them.
A Base Coat and a Finish Coat Over Solid Masonry
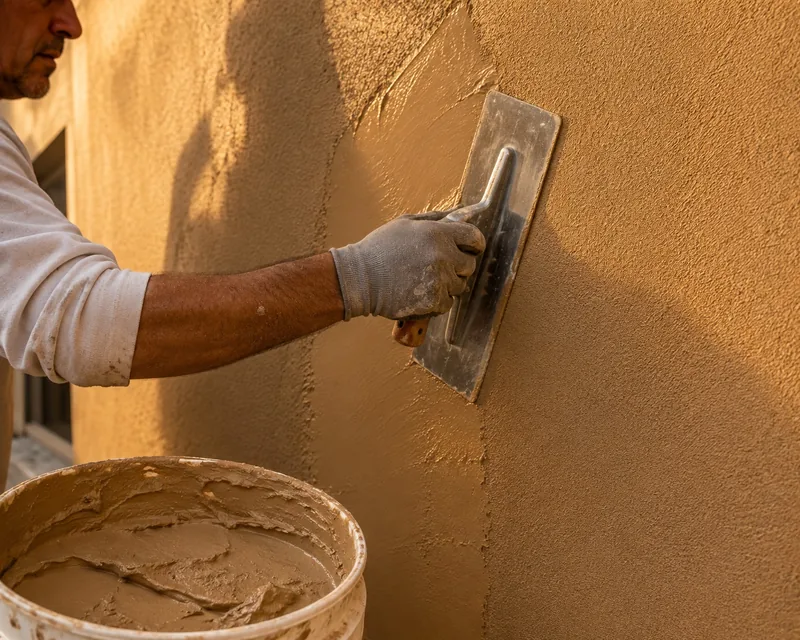
The base coat fills the block face, evens out the mortar joints and gives us a flat surface for the next layer. We then apply the thinner finish coat, which gives the color and texture you chose. ASTM C926 covers two-coat work over solid masonry. Two coats are enough for stucco for block walls because the block provides a flat, dense surface with enough texture to form a mechanical key, the grip the plaster gets on the surface. The code minimum over masonry is 1/2 inch. A framed wall finishes thicker for the reasons covered in our stucco installation work.
Once the base coat is on, the wall needs time before we can finish it. The finish coat goes on not less than 7 days after the first coat, and each coat is kept moist for at least 48 hours while it hardens. Your schedule includes those curing days along with the days when the crew is actively working. A freestanding wall makes the moisture harder to hold than a house wall because both faces cure at once and the top dries fastest of all.
Carrying the Wall's Control Joints Through the Finish
Block dries after the wall goes up, and it shrinks slightly as the moisture leaves. A properly built wall accounts for that movement with control joints, the deliberate vertical breaks that give the shrinkage somewhere to occur. You will usually find them at locations including a change in wall height, beside a pilaster or at the edge of an opening.
If we carry plaster straight across one of those control joints, the finish has no room to move. The masonry joint underneath still shifts, so the plaster splits directly along the same line. To prevent that, we set a joint accessory into the plaster directly over the masonry joint, giving the finish a matching break. On a long wall run, we also divide the finish into panels of its own. You will usually notice a problem before we inspect it because a crack following a straight vertical line looks different from the other cracks on the wall.
Caps, Copings, and a Wall Exposed to Weather on Every Side
A freestanding wall faces harsher exposure than any wall on your house, especially across the top. The cap is also the one part of the wall you actually get to choose, so it helps to understand what each option does before you pick one.
Two Faces, an Open Top, and No Roof for Protection
A house wall has an eave above it, heated rooms behind it and only one face exposed to the weather. A freestanding block wall has no such protection, and you usually see the effects first along the top. Its two faces heat and cool on separate schedules, with one typically taking the morning sun and the other the afternoon sun. As a result, the wall spends most of the year moving against itself, and the control joints absorb that movement. Meanwhile, the top sits in the sun all day and catches every drop of water that lands on it.
What a Cap Does and Which Materials Are Available
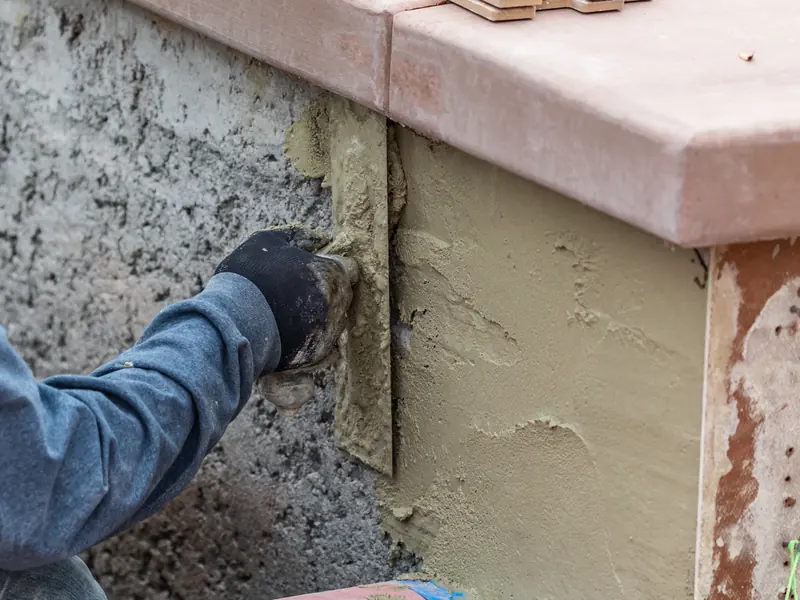
A wall cap and a coping perform the same job, so your choice comes down to the material. Without a cap, water that lands over an open cell runs straight into the wall, where no part of the assembly can dry it out and no one can reach it. A properly sloped cap sends that water out toward the wall faces instead of allowing it to collect on top.
You can choose from several cap materials, including a precast concrete unit, a solid cap block laid as the final course or a cement wash formed on site. We seal the joint between the cap and the wall because that seam is the one place where water can still enter a capped wall. Some walls have plaster spread across the top in place of a cap, but plaster does not perform the same job. The exposed top then becomes the part of the finish that takes the most weather.
Why Choose St. George Elite Stucco for a Block Wall
Before you hire anyone to work on a block wall, there are two things you can check for yourself. Start with exactly what the scope covers, including the cap and the joint layout. Then ask to see the paperwork behind the words licensed and insured before we start work.
Both Halves of a Block Wall in One Scope
For a new wall, we settle the full specification before the first course of block goes down. We put the block size and bond in writing, along with the steel and grout required by the drawing, the control joint locations, the type of cap, and the finish texture and color. On a wall that is already standing, we survey those same items instead of specifying them. In either case, you receive the scope in writing, and St. George Elite Stucco prices the masonry and plaster together under one specification.
What to Ask For Before the First Course Goes Down
Before we work on your wall, you can verify our license and insurance coverage. We carry general liability and workers' compensation. Certificates are available before work starts, and our license number goes on every written estimate. Digging is the first work that takes place on your property, so ask for the certificate before the trench is opened. Do not wait until the plaster work begins. The written estimate is free whether your project calls for building a wall or finishing one that already stands. Call (435) 236-2699 or use our quote form to schedule a free on-site estimate.
What Drives the Cost of a Freestanding Wall
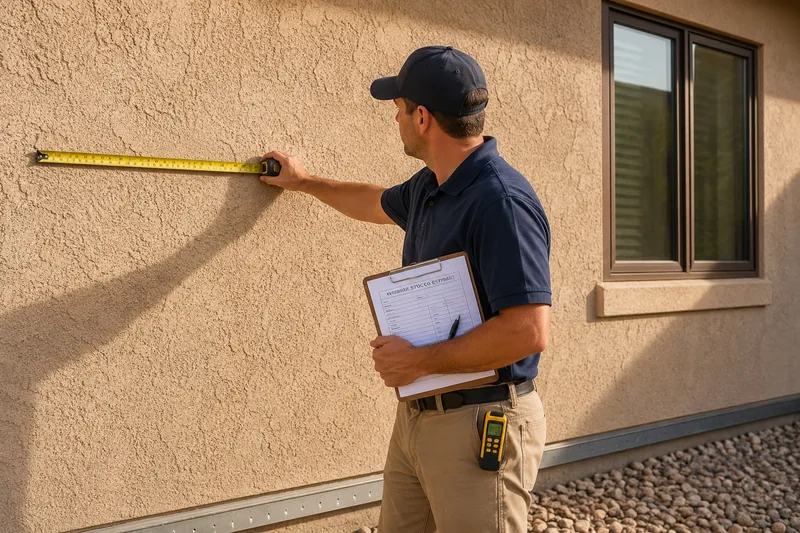
We cannot give you a flat block wall cost over the phone because we first need to see the wall line, the ground beneath it and the face we will plaster. We measure the run in linear feet and count the courses from the footing upward, but those measurements are only the starting point. The estimate also reflects the following site and construction details.
- Length and height along the run. A longer wall spreads the setup cost across more linear feet. As the wall gets taller, every foot requires more block, steel and grout.
- Both faces and the cap. Because we finish a yard wall all the way around, its plastered area is roughly double that of a house wall with the same run, plus the top.
- What is under the ground. Before we can lay any block, trenching through rock takes additional hours. The same applies when the trench turns up a line that we must work around.
- Steel and grout quantities. The drawing tells us how many cells need a steel bar and grout. We price those quantities from the document rather than estimating them.
- The face you are starting from. A painted or sealed wall first requires removal or a dash bond coat. That preparation is a separate operation and takes its own day on the calendar.
- Detail count. We have to build and finish columns, cap runs and gate returns individually, so those details take more time per foot than a straight section of wall.
- Access. We check whether a mixer and a pallet of block can reach the wall line. If they cannot, the crew must carry everything through a side gate.
Once we have measured the site and checked what is actually there, we prepare the price and send you the estimate in writing before scheduling any work. To arrange an on-site inspection, call (435) 236-2699 or use our quote form.
From Footing and Block Courses to Bond Coat, Two Coats, and Finish
For a new block wall, St. George Elite Stucco follows six steps from walking the line with you to inspecting both finished faces. If the block structure is already standing and only needs plaster, your project joins the process at step five.
-
The Walk and the Written Scope.
You show us where you want the wall, and we take the measurements needed for the estimate. We then write down exactly what the estimate covers and price the work against that scope, so you can see what is included. The visit itself is free.
-
Layout, Utility Locates, and Approvals.
Before anything becomes permanent, we stake out the wall so you can see its position. We verify the jurisdiction and handle required permit applications, and the buried lines are marked before digging starts. If your community reviews exterior work, we supply product color and texture samples for the submittal.
-
Footing and First Course.
We open the trench, place the footing, and set the bottom course on it. Once that first course is down, the wall line cannot be moved, which makes this the visit worth being home for.
-
Courses, Steel, Grout, and the Cap.
Over the following days, we build the block courses until the wall reaches its planned height. The steel goes into the designated cells as the wall rises, and those cells are grouted. We put the cap on top before mixing any plaster.
-
Face Preparation and the Bond Coat.
A finish-only project starts here instead of at step three. We test the block face and remove anything that will not hold plaster, then apply the bond coat and give it time to cure.
-
Two Coats, Curing, and the Walkthrough.
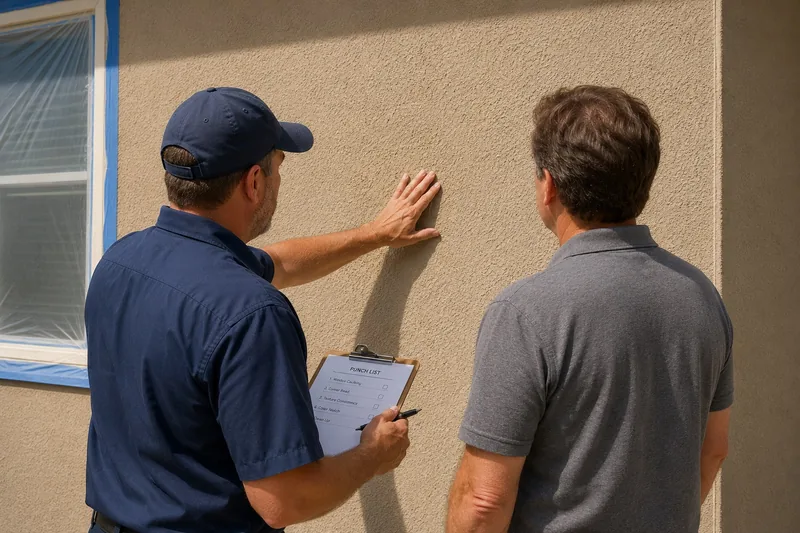
We apply the two plaster coats with the wall’s cure days between them, following the schedule you received. At the end, we inspect both faces and the top with you before clearing away the staging.
To put a wall on the calendar, call (435) 236-2699 or begin with our quote form.
Concrete Block, Water, and the Ground Beneath the Wall
If a white powdery bloom has appeared low on your wall, it is salt and does not mean the block structure is damaged. Concrete block does not rot, but a block wall is porous. Through capillary rise, water moves into the bottom of the block and rises through it before evaporating from the face. As the water leaves, it carries dissolved salts to the surface, forming efflorescence, the white bloom left when those salts crystallize. Under the plaster, the same water pushes against the bond from behind, where you cannot see the damage developing.
That water comes from one of four places around the property rather than from the weather.
- A sprinkler head points at the wall or sits close enough for its spray to reach the block.
- Soil or mulch is banked against the base, keeping damp ground in contact with the block.
- The ground slopes toward the wall, allowing runoff to collect at the footing.
- The top is uncapped, allowing water to enter the cells from above.
St. George averages 8.8 inches of precipitation a year, so watering wets the ground beside a wall far more often than rain does. Before the finish goes on, we would rather move a sprinkler head or regrade a few feet of dirt than cover the source of the problem with plaster. When water keeps returning through the wall after those corrections, the wall needs a different kind of work. Our stucco remediation work handles it.
Block Wall Work Across Washington County
The conditions around an exposed wall change depending on where your property sits in Washington County. Down in the valley at 2,530 feet, where the area transitions into the Mojave Desert, the sun reaches each face in turn and causes the wall to move. Near Pine Valley at 6,500 feet and Veyo at 4,500 feet, winters are genuinely cold. A wet wall can freeze there in a way that a valley wall never does.
The block remains the structure in either setting, but the site changes what the cap has to handle. In the high country, the cap must keep water out before the wall freezes. In the valley, it must withstand direct sun that the vertical faces do not receive.
Where St. George Elite Stucco Builds and Finishes Block Walls
St. George Elite Stucco works throughout Washington County, including the connected cities around St. George and the smaller settlements near the county’s valleys and mountain approaches.
- St. George, Washington, Santa Clara, Ivins, Hurricane, La Verkin, Toquerville, and Leeds
- Winchester Hills, Diamond Valley, Dammeron Valley, Veyo, Brookside, Central, and Pine Valley
- Gunlock, Shivwits, Virgin, and Apple Valley
We do stucco work for block walls across all of these communities, in both the valley and the high country.

Questions Homeowners Ask About Block Wall Stucco
Homeowners throughout Washington County often ask us these questions while we are standing beside the wall and looking at the problem together.
Why does a crack in the finish follow a line in the block underneath?
A straight vertical crack usually follows a joint built into the block wall. The wall continues to move along that joint after the plaster goes on, and rigid plaster cannot absorb the movement, so it splits along the same line. When the finish is already in place, we can cut the joint into the plaster without rebuilding the wall.
Can stucco go over block that has already been painted?
We cannot simply cover painted block with plaster because the paint prevents the plaster from keying into the surface. The coating must come off the block, or we must use a different assembly as part of our stucco installation work. Before you call, splash some water on the face and watch how the surface responds. That quick test takes about a minute.
Does a freestanding wall really need a cap?
A freestanding wall has nothing above it to keep rain off, so every drop that lands on the top can enter the block when there is no cap. Adding a cap redirects the water down the faces, where it can dry. Even when the wall is already plastered, we can install a cap without disturbing the finish.
Why is my block wall two coats when my house was three?
The number of coats depends on what supports the plaster. Masonry is already flat and dense enough to receive the plaster, so two coats provide the 1/2 inch the code requires over block. A framed house needs an extra coat to build the solid base that the masonry wall already provides, which is why the finished stucco is thicker there.
How tall can a block wall be built here?
There is no number anyone can give you over the phone, because wall height is a design and permitting question. An engineer sizes the wall, and your building department approves the design. Before you settle on a height, remember that extra height changes more than the courses you can see. It also changes the footing and the steel underneath.
Will concrete block break down where it meets soil or water?
Concrete block does not rot, and what looks like the block breaking down is usually salt left behind by water. The block takes in water low on the wall and releases it again at the surface. Salts carried in the water then dry into a chalky white film. When that film appears on your wall, start by checking the sprinkler heads nearby because watering runs daily here, while rain does not.
Walk the Wall With Us
Most homeowners who call St. George Elite Stucco need to know which of two jobs their block wall requires. Wherever you are in Washington County, we measure the run and inspect the face and cap before explaining which job fits the wall. Your estimate comes in writing, and the visit is free. Call (435) 236-2699 or request a free estimate through our quote form.